Does anyone remember the salt lamp craze?
I do because a month after my parents received one as a gift they were all recalled and it ended up in the reject closet with every other appliance you thought would be useful but (surprise!) was not.
The Himalayan Salt Block, also known as salt slab, is a different story. Same idea, better living through salt, but by consumption which is way more appealing anyway. Since pink salt is know for not only being better for your body than traditional iodized salt, the salt block also carries important minerals while it delicately seasons your food.
So how does it work?
There are more than a few resources out there on the mechanics of a salt slab (here and here ) but here are the basics.
Temper Your Slab.
It is very tempting to just grab a slab and start salt cooking everything in sight but resist the urge. If the slab isn’t heated properly the first time you can risk cracking your block and then what would you have? A pile of salt shards.
Temper it by slowly heating in your oven, about 1.5 hours total, increasing the temperature from 200° degrees every 30 minutes. Don’t fret if it begins to expel water or you hear cracking, it’s normal.
Get It Hot.
You can heat your salt slab a few different ways. Be sure to get it (very) hot before you begin cooking to make sure your food doesn’t get over salted.
- Place it on your outdoor grill and heat it slowly. Again, you don’t want to heat ti too fast and damaged the block.
- Heat the block in your oven at 500° for about 30 minutes.
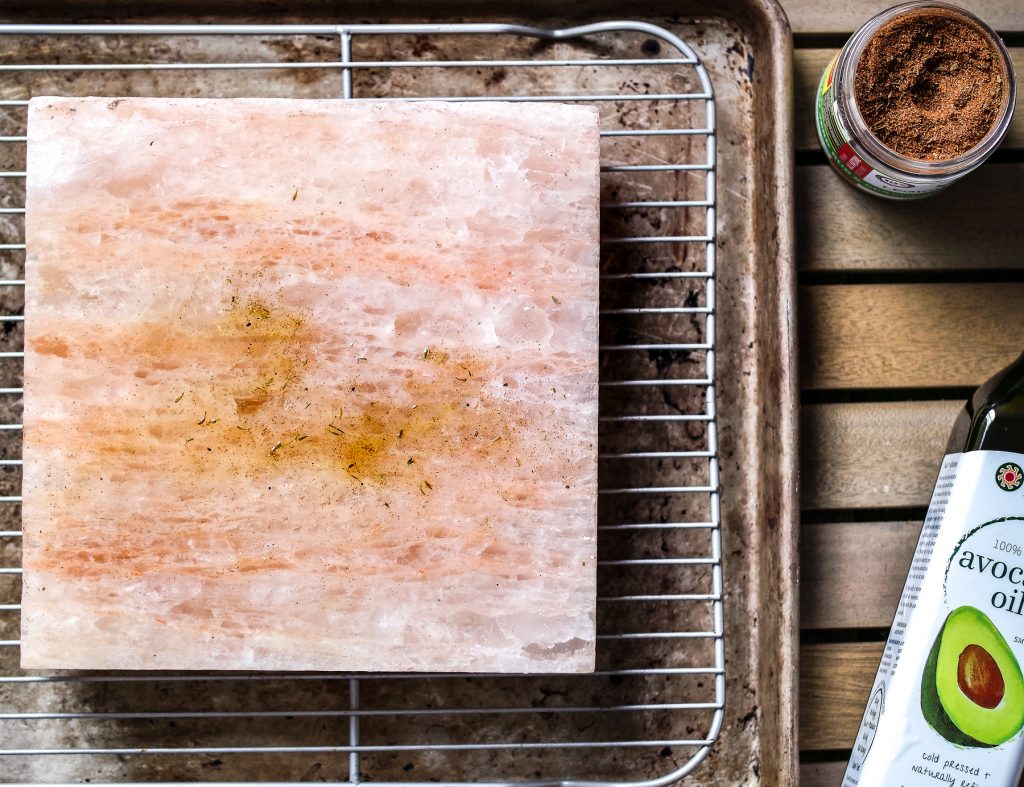
Don’t pour oil directly on the slab or it will never come clean. That was my rookie mistake!
Get Something Cooking.
Once the block is hot you can cook until you run out of food to grill! Stick to foods that cook quickly and have less natural liquid. The longer it’s on the block the saltier the food item will become. Same goes for wet foods!
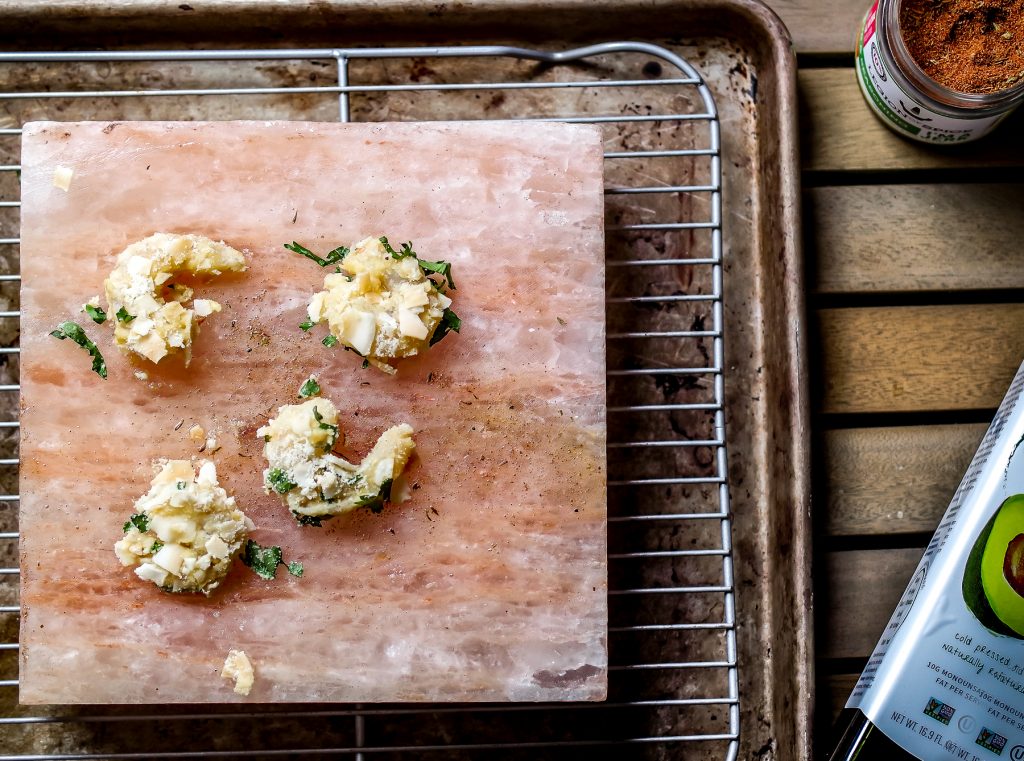
Shrimp, scallops, veggies, and other quick cooking items are best with minimal effort. I chose shrimp because as a 99% vegetarian the texture doesn’t creep me out as much as other flesh items but you could even cook beef on this baby!
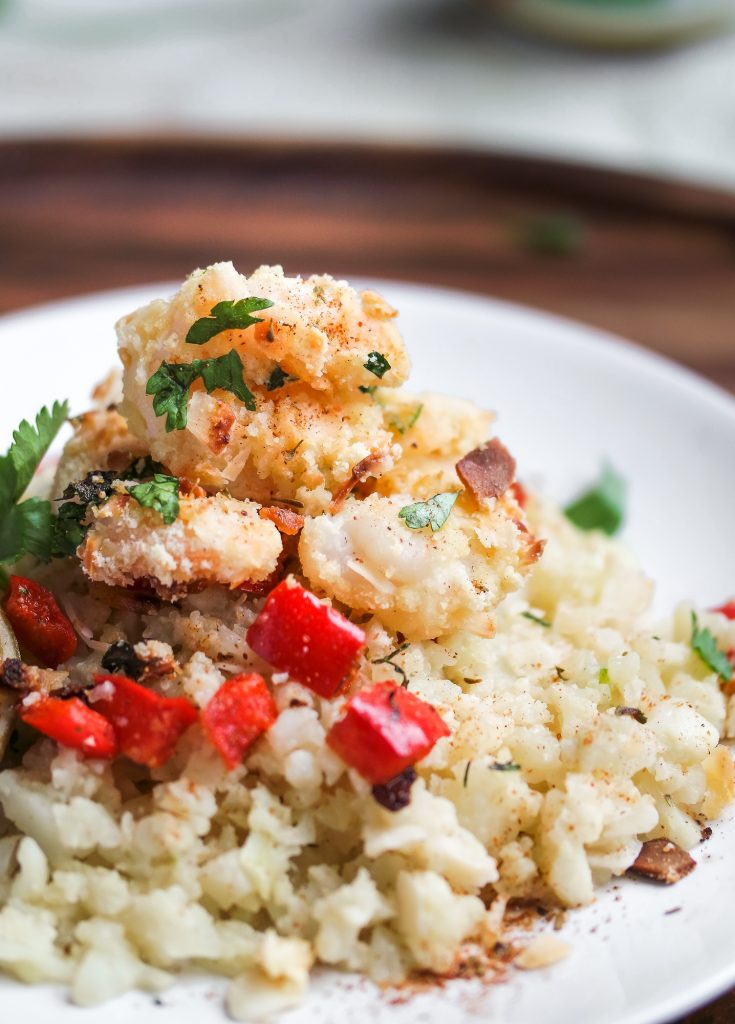
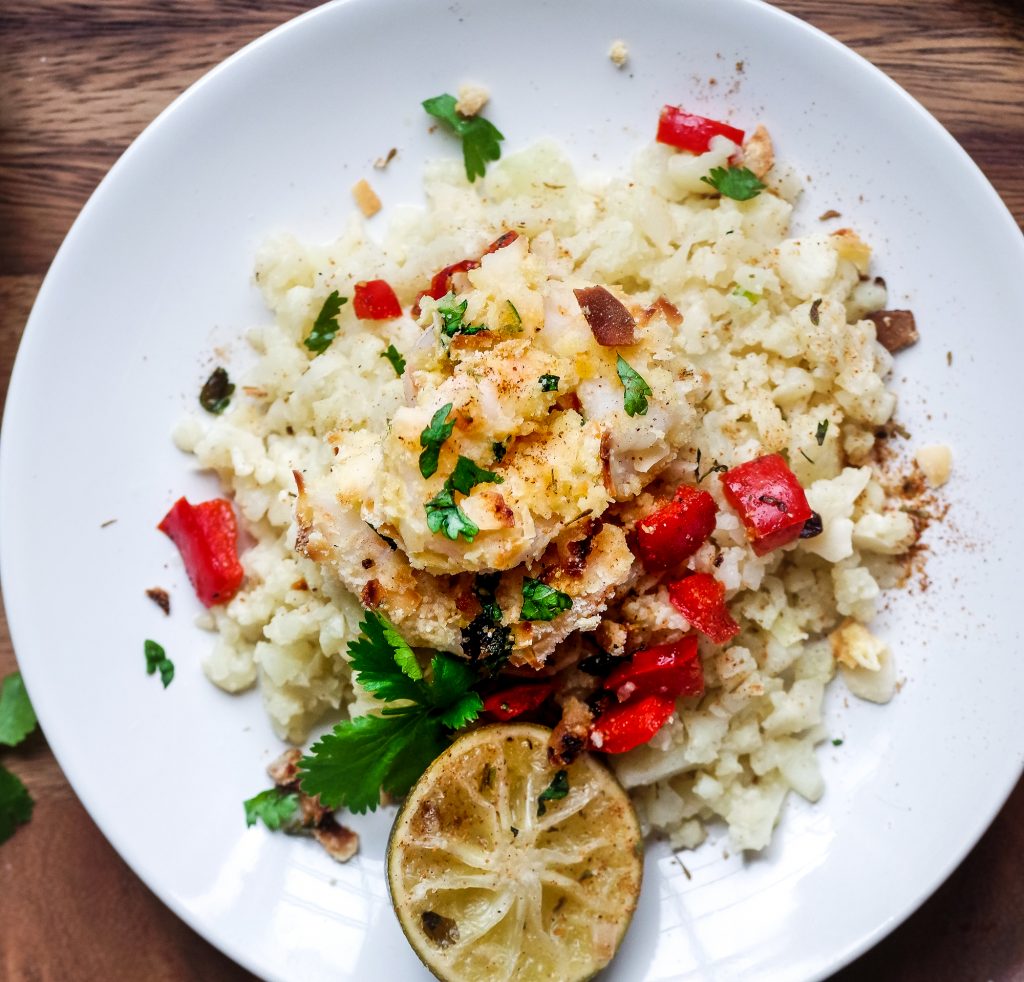
Crunchy Coconut Shrimp with
Cauliflower Risotto
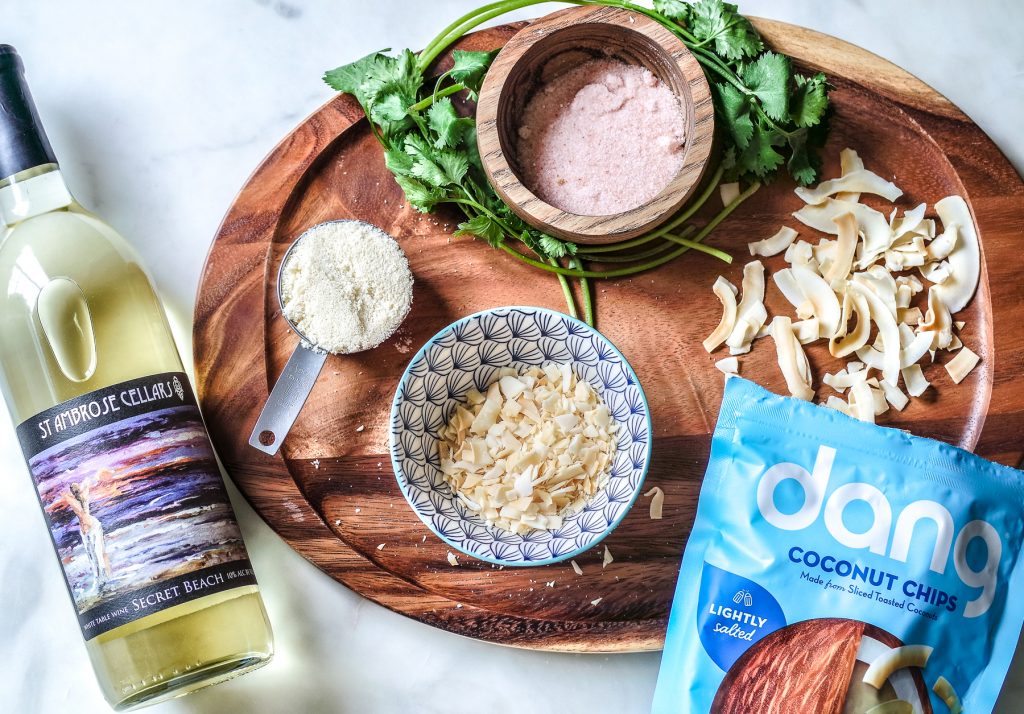
A big thank you is in order to the lovely food and wine enthusiasts at St. Ambrose Cellars. They supplied a bottle of their new Secret Beach wine and let me create a recipe to pair it with.
As if wine needs to be paired but, OK!
Check out their lovely assortment of Michigan made booze along with our previous collaboration featuring Mead Glazed Shallots!
Pour yourself a glass of this magic and let’s get cooking!
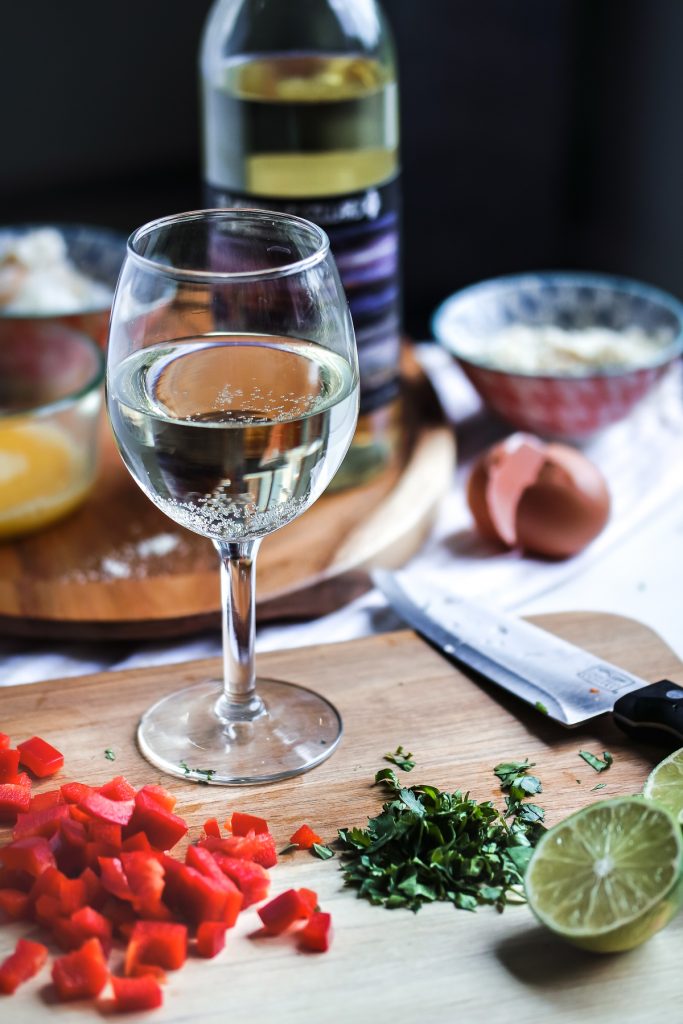
When salt block cooking, I find it important to get the block hot FIRST to save time.
Then you can prep your food items and have a glass of vino in the meantime.
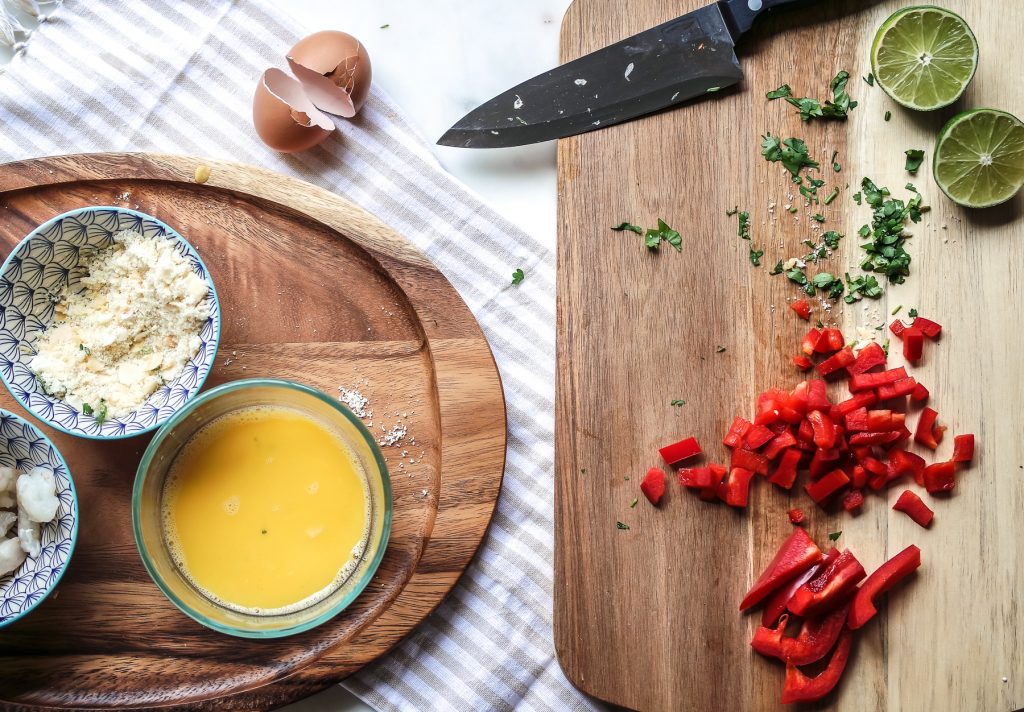
And the best part is that you don’t have to season your veggies
because the block does all of the work.
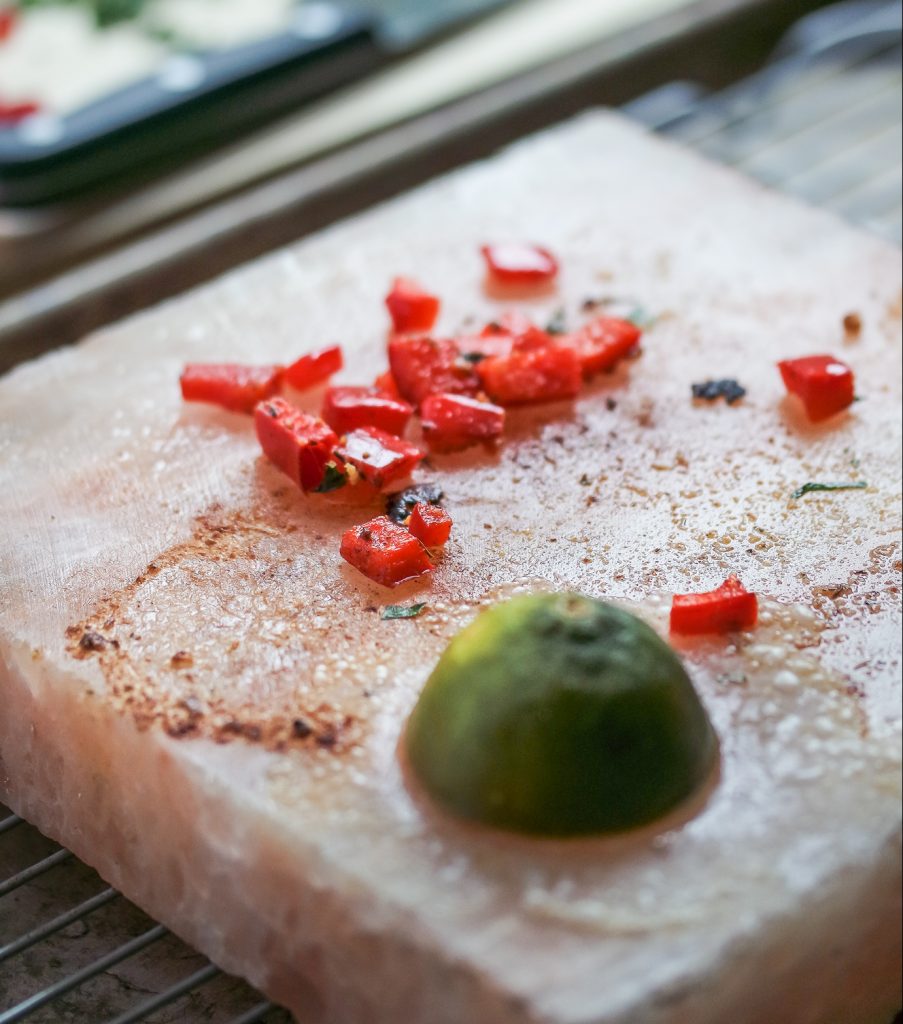
And just like that shrimp goes from this…

To this!
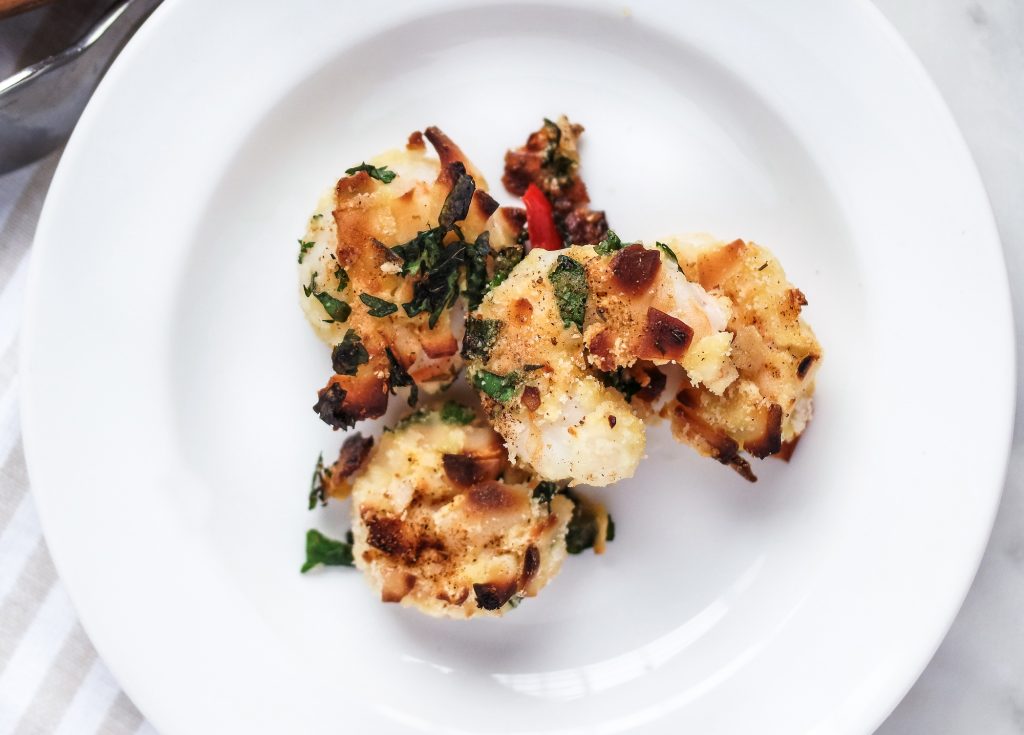
Testing and retesting this recipe reminded me of two things.
- Cauliflower rice is so damn good. Why don’t I eat it every day? Especially when you can buy it pre-riced in the grocery store?!?!
- Two glasses of wine and a 500° block of salt are a dangerous combo. Grill responsibly.
Pick up a Salt Block HERE or check your local grocery store. I found mine (duh) in the salt aisle!

Coconut Crusted Shrimp with Creamy Cauliflower Rice
Ingredients
- 1 lb Shrimp, raw, shells removed
- 2 eggs, beaten
- 1/2 c. Almond Flour
- 1/2 c. Shredded Coconut, unsweetened
- 1 tsp Jerk Seasoning, optional for spice lovers
- 1/2 c. Red Bell Pepper, diced
- 1 head Cauliflower, riced
- 1/2 cup Coconut Cream, substitute heavy cream for those not dairy sensitive
- 1 tbsp Butter
- 1 tsp Salt
- 1 lime, halved
- Fresh Parsley, chopped, for garnish
Instructions
- Preheat the salt block on the grill or in the oven. Test the heat level by adding a droplet of water. If it sizzles, it's ready!
- In a large pot combine cauliflower rice, coconut cream, and butter and heat on medium low with the lid off. Once the butter is melted and the cauliflower begins to soften, remove from heat, cover and prepare the shrimp.
- In a shallow dish, combine almond flour, coconut, salt, and jerk seasoning. Dip the shrimp in the beaten egg and then coat in the flour coconut mixture. Arrange on salt block, carefully turning once the edges begin to crisp. At this time you can also lightly grill the red pepper or veggie of your choosing.
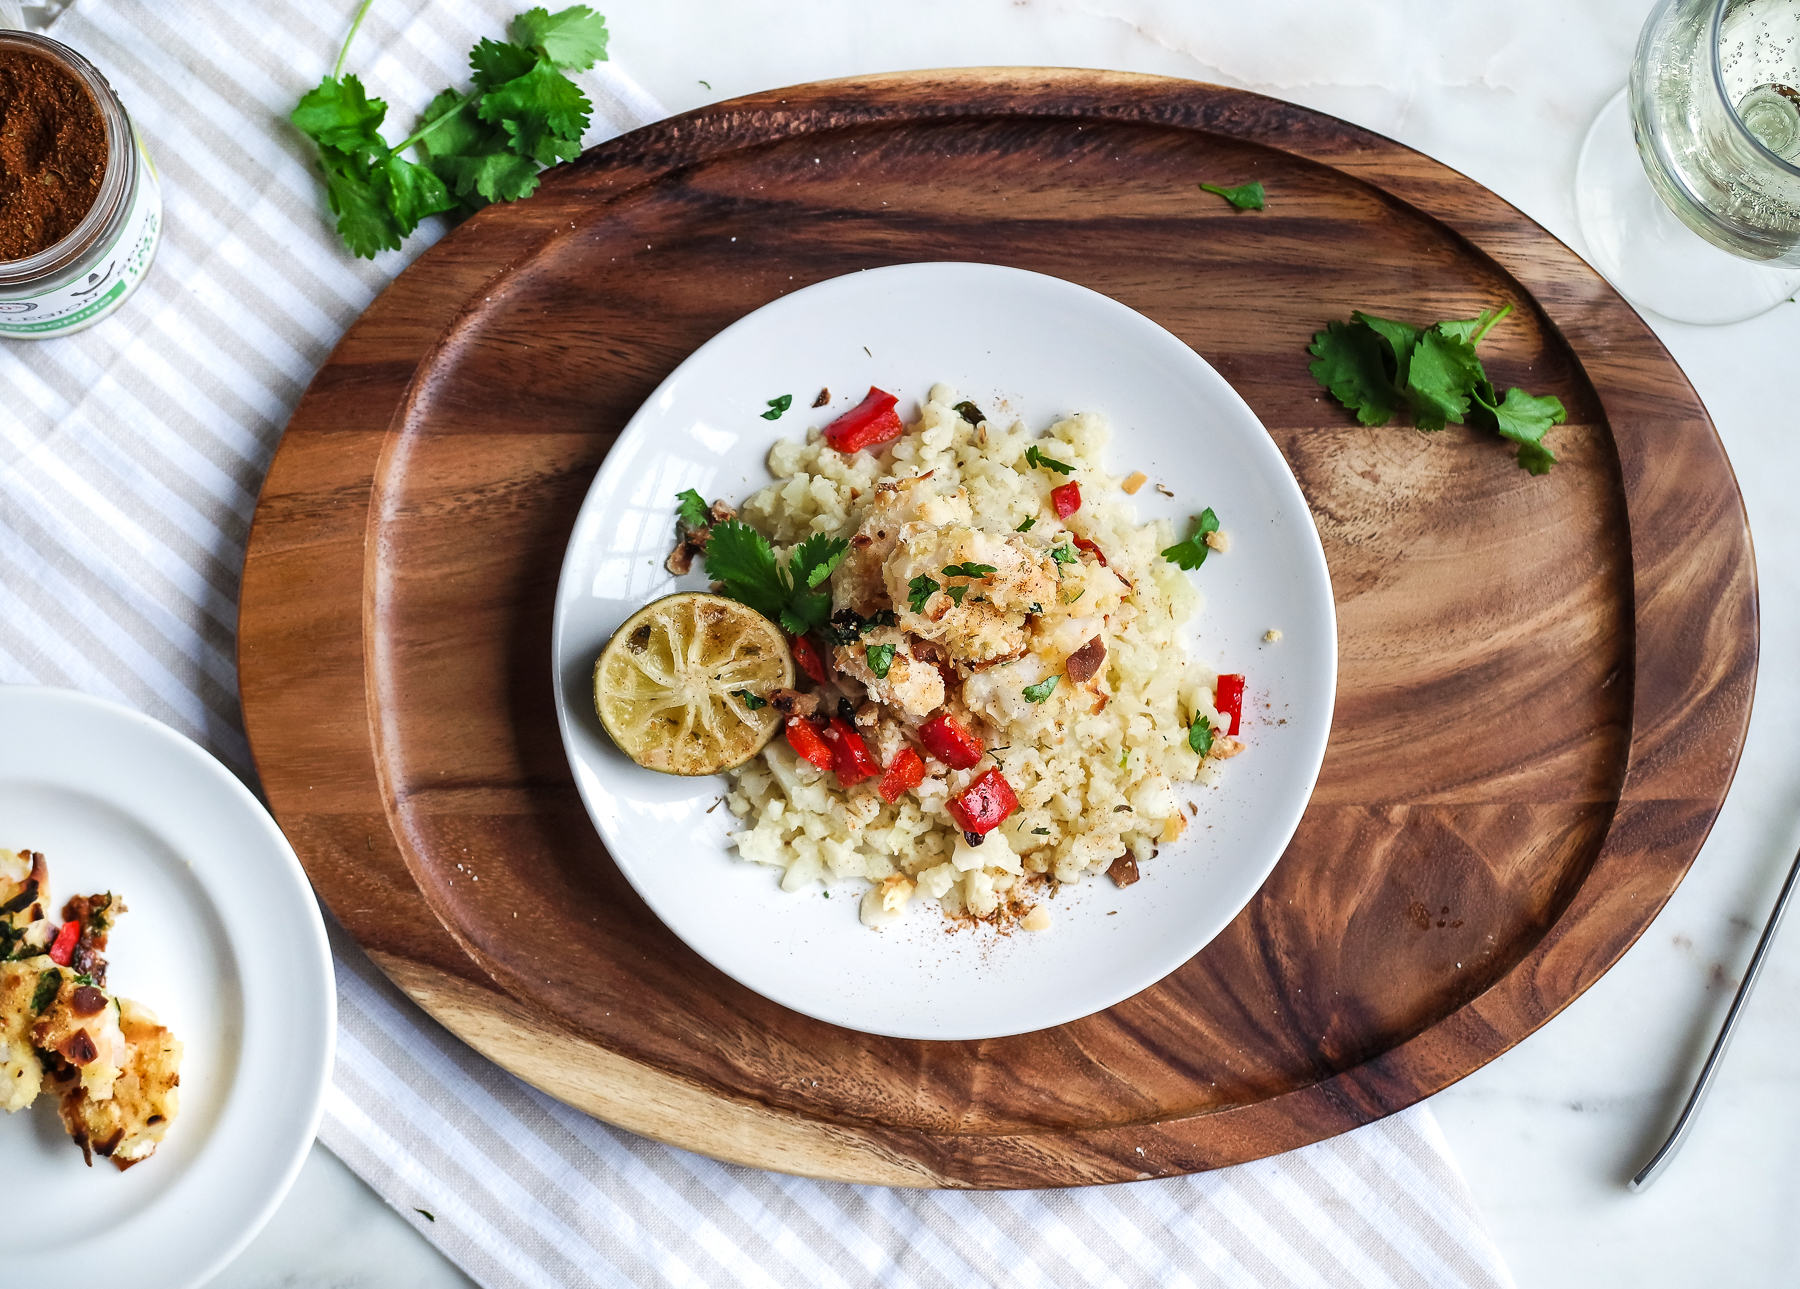
- Plate the cauliflower rice with shrimp and veggies on top. Garnish with freshly squeezed lime juice and fresh parsley!
This post was not paid for and all views are my own. St. Ambrose Cellars contributed a bottle or two of wine and the necessary inspiration for this recipe!
I love coconut shrimp! This looks way healthier than the deep fried kind I usually go for. Yummmmm! Very well done, per usual.