Go ahead, indulge in this treasured classic without worry, without sugar, and without gluten! I present to you, the Keto Milano Cookie.
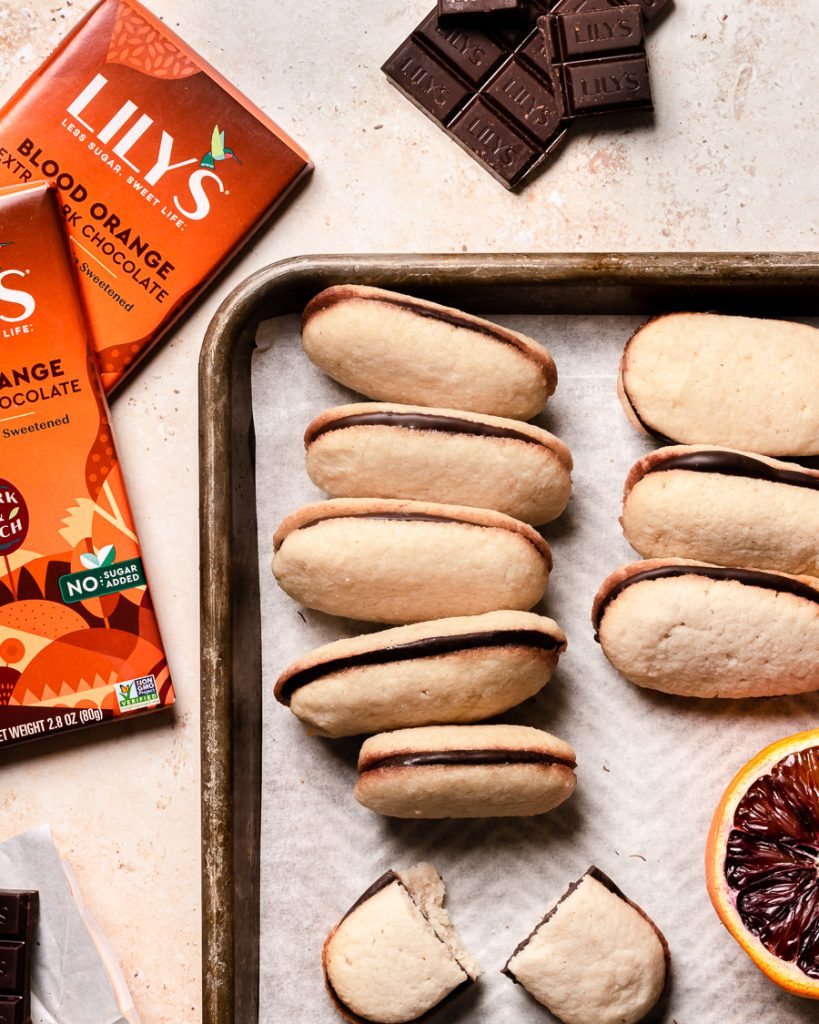
It’s That Cookie.
Did anyone else’s mom constantly say no when you tried to put Milano cookies in the cart?
Because mine did. Every. Single. Time.
What was the reason? Who knows. Probably because my siblings and I were ravenous heathens that ate every snack item in the house the minute we got home. But honestly, we’ll never know.
SO because I was traumatized by the weekly refusal to purchase this elusive cookie, I had to make a gluten-free keto version. It’s got that crisp and buttery flavor with that silky chocolate center. THEN, I took it up a notch and added some orange zest and blood orange chocolate.
Finally, my inner child is a peace!
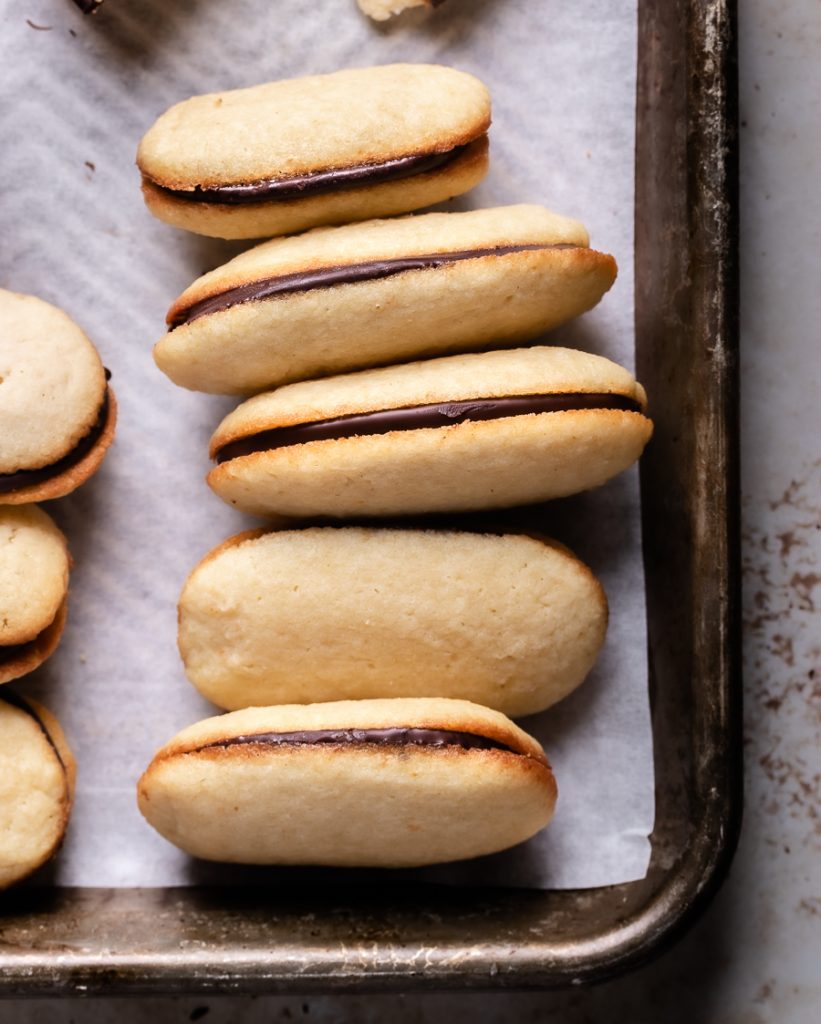
The Art Of The Keto Milano
This cookie is by far one of the most in-depth keto copycat recipes I’ve ever ventured into. As long as you don’t rush it and enjoy the process, you’ll have some pretty amazing gluten-free cookies to eat while you plan how you’ll finally start living your life right! Take that, mom.
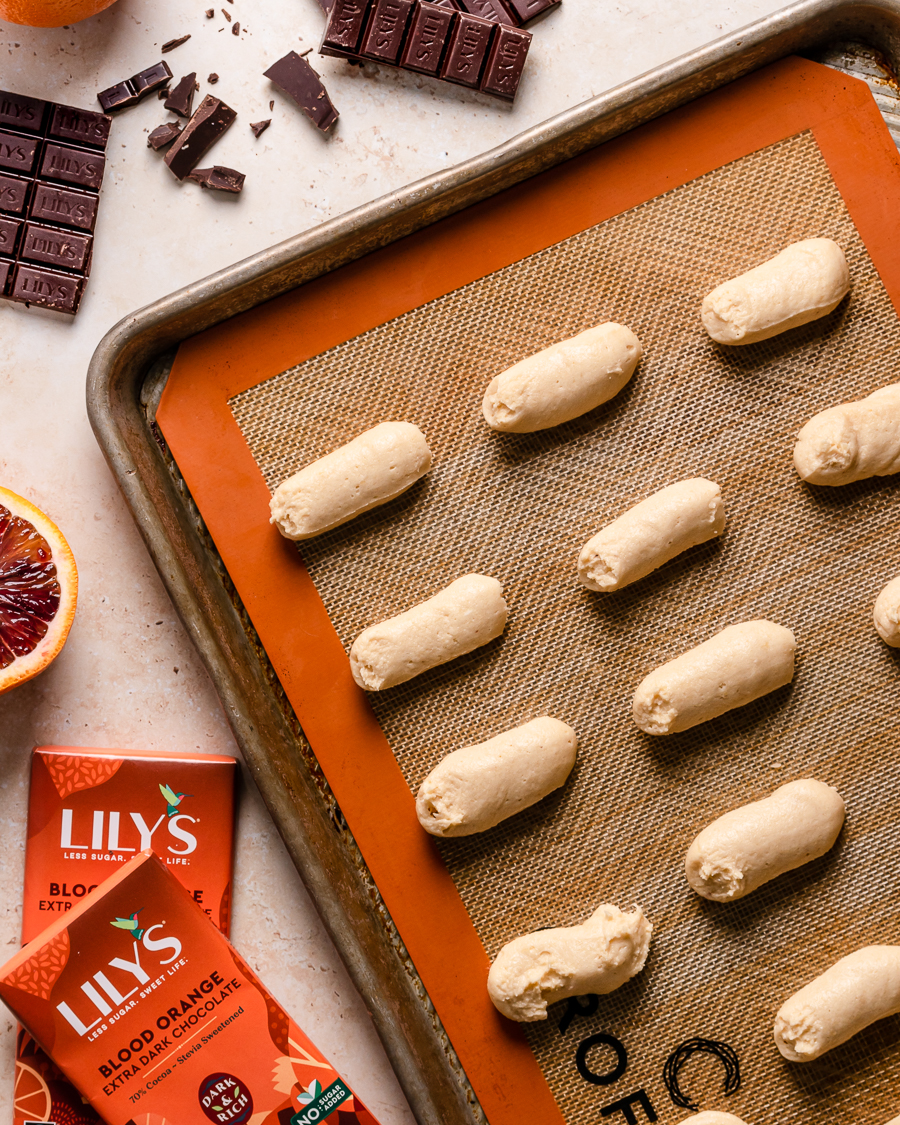
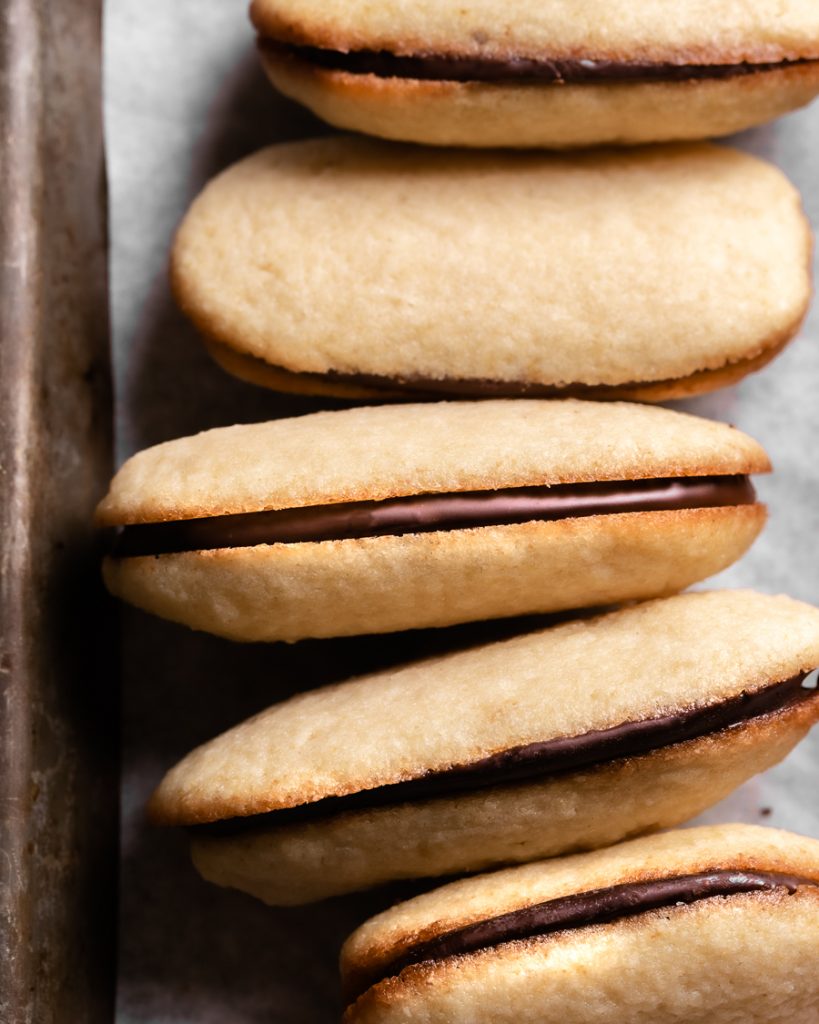
1. Measure everything. Keto baking needs precision. Be meticulous in measuring both the ingredients (weigh them!) and the size of your cookies. This helps ensure they match up when you try to sandwich them with some beautiful dark orange chocolate. Make a guide by drawing two lines on a piece of paper TWO inches apart. Use a ruler to cut your piping bag for the perfect cookie thickness.


2. Give your mixing muscles a break: Usually you want all of the air incorporated into your gluten-free baked goods, but not this time. If you overmix this dough/batter there will be a million tiny bubbles in your cookies and you won’t get that smooth top we all love like the classic Milano cookie. Mix everything enough to make sure the wet and the dry have become one…then get outta there.
3. Use an old baking sheet and silicone mat. A shiny new baking sheet is NOT a great heat conductor like your old dark pans. You need a dark pan to help the cookies spread, but a silicone baking mat to prevent the edges from burning! Just trust me, I have the reject cookies to prove it.
Choose Your Milano Cookie Flavors
Feeling tradish? Cool! Go with the classic vanilla cookie and stevia-sweetened milk or dark chocolate center.
In more of an adventurous mood? Follow the recipe as-is for a very light orange shortbread cookie with a dark blood orange chocolate center. SO GOOD.
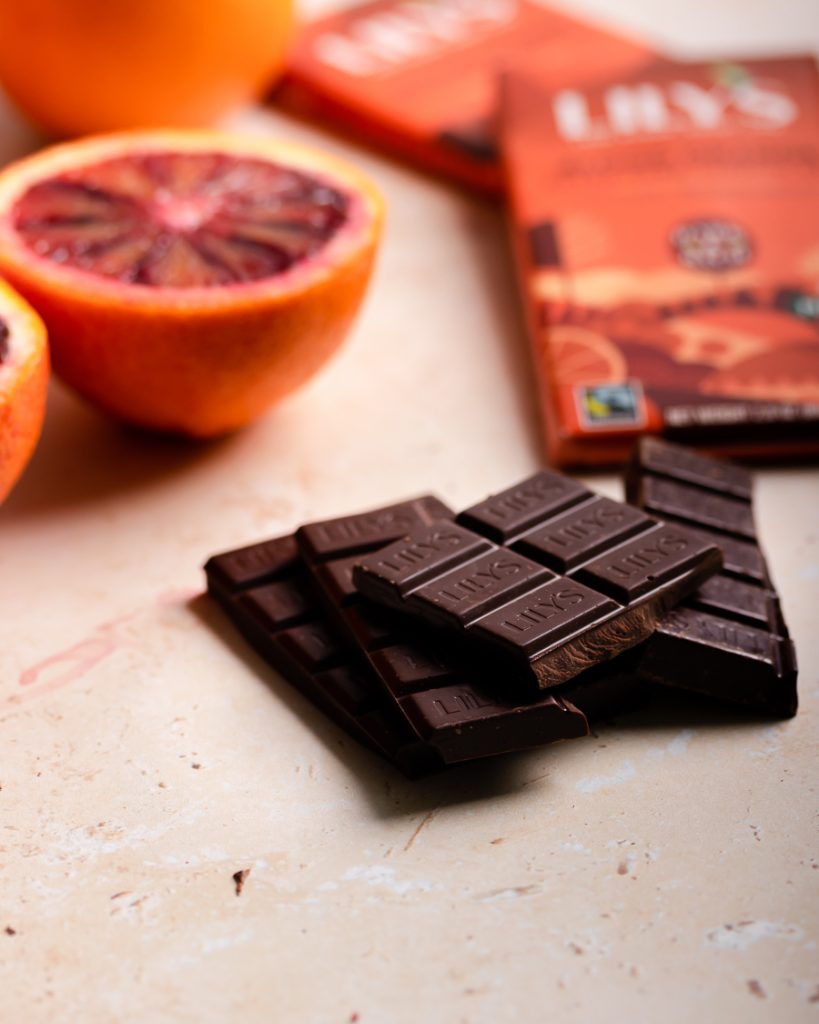
The Blood Orange flavor in these keto Milano cookies is so subtle but the perfect balance to go with the orange zest in the shortbread.
And as always, Lily’s is no-sugar-added and stevia sweetened!
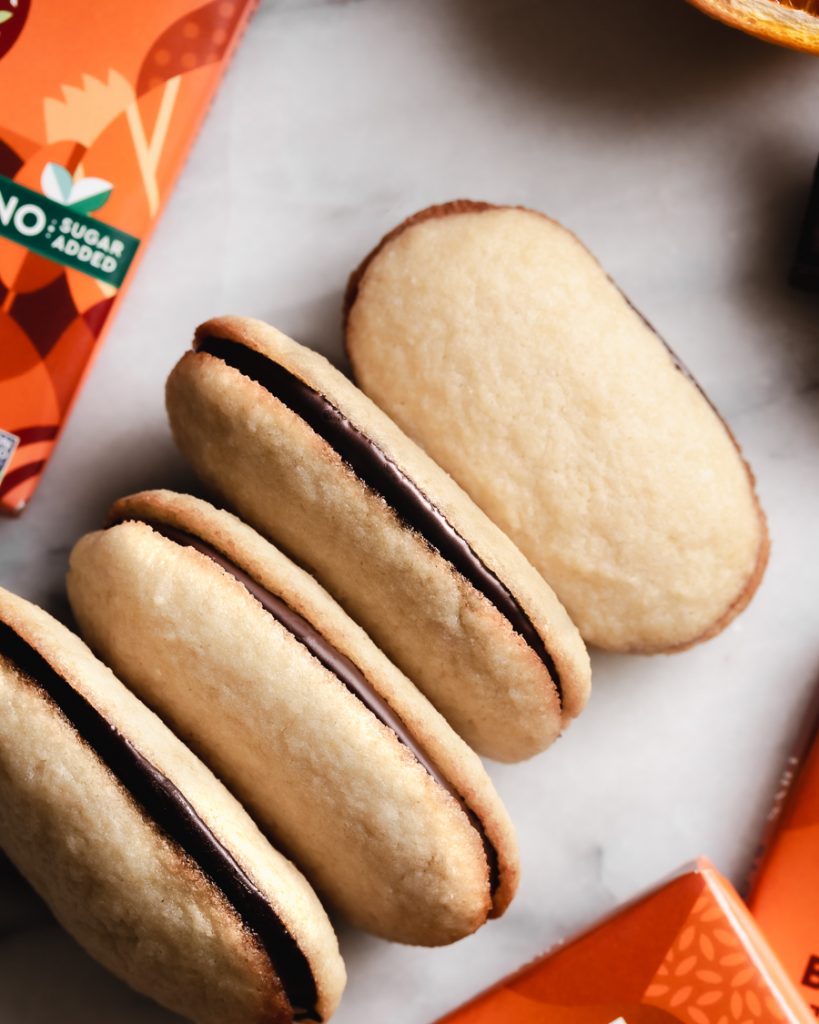
Be honest. Can you even tell these Keto Milanos are gluten-free and have ZERO added sugar?
Because I couldn’t and neither could my dad or the maintenance guy in my building.
Looking for More? Try These!
- {Absolutely Loaded!} Keto Chocolate Chip Cookies!
- Keto Peanut Butter Hi-Hat Cupcakes
- Keto Danish Butter Cookies
Heads UP! This post contains affiliate links. As an Amazon affiliate, I earn from qualifying purchases.
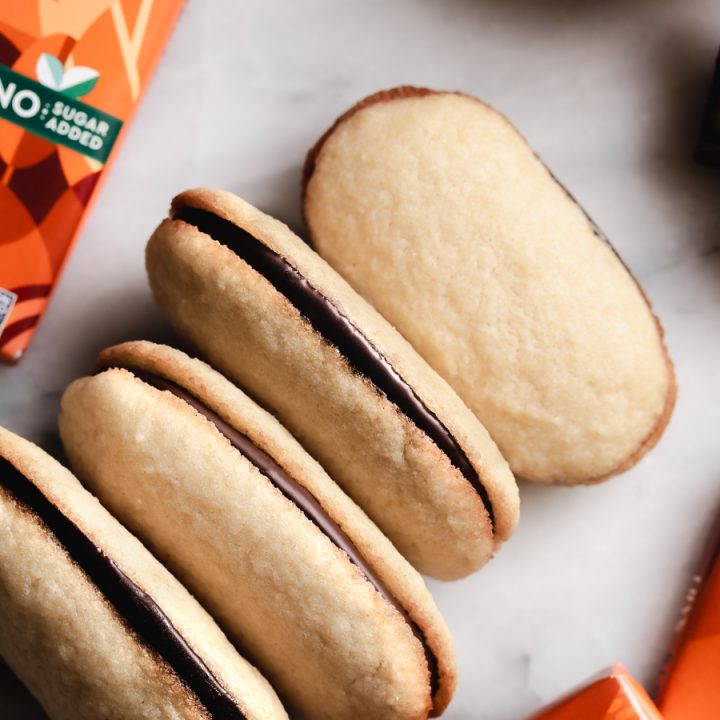
Keto Copycat Milano Cookies with Orange Dark Chocolate
Ingredients
For the Cookie
- 6 tablespoons Butter, melted
- 1 teaspoon Vanilla Extract
- 1 large Egg
- 1 cup (86g) Almond Flour
- 1/2 teaspoon Coconut Flour
- 1/2 cup (64g) Powdered Swerve, or powdered sweetener of choice, SEE NOTES
- 1/4 teaspoon Baking Powder
- 1/4 teaspoon Xanthan Gum
- Pinch Salt
- 1 teaspoon Orange Zest, optional
For the Filling
- 6 oz Lily's Orange Dark Chocolate, can sub any of the Lily's Variety!
- 1 teaspoon Coconut Oil
Instructions
- Heat oven to 350°F and line a dark-colored baking sheet with a silicone mat. See the blog post for why these two things are KEY!
- Microwave the butter in a small bowl and set aside. In a separate bowl, whisk the almond flour, coconut flour, xanthan gum, baking powder, salt, and sweetener.
- Once the butter has lost some of its heat, add the egg, vanilla, and optional orange zest and beat just until combined.
- Add the wet ingredients to the dry and stir until a wet batter forms. Be very careful not to over mix or incorporate too much air into the batter. This ensures smooth top cookies!
- Scoop the batter into a pastry bag and cut the tip so the opening is 1 inch in diameter (see photos in post). Pipe the dough into two-inch strips about 1 inch apart, making sure you squeeze hard enough to get a smooth strip. Use your finger to gently smooth the ends of each strip.
- Bake in the lower third of your oven for 10 minutes, watching for browning. Once the edges begin to turn a light brown, remove and let cool slightly before moving the cookies to a cooling rack. Repeat with remaining dough. *Make sure to let the cookie sheet cool down or use a second sheet for optimal cookie baking/shaping*
- Note: The cookies will continue to get crips the longer they are in open-air with low humidity. I recommend waiting an hour or two before adding the chocolate.
- Once the cookies are cool, melt the chocolate and coconut oil in the microwave at 20-second intervals, string frequently until smooth.
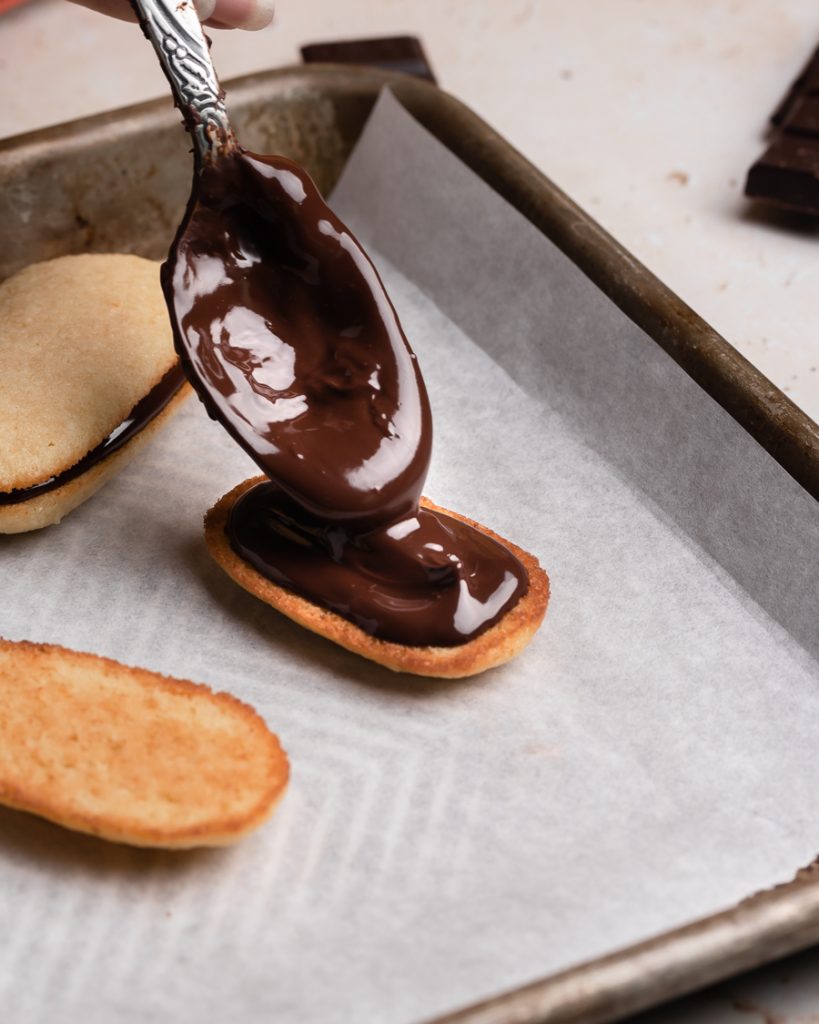
- Add a dollop of chocolate to one cookie and spread gently. Top with a second cookie half. Chill to set the chocolate, store at room temperature.
Notes
Subsitutions: I've tried multiple variations of this recipe and these ingredients are key to getting the right cookie. Erythritol is the best for getting these to crisp up. Allulose will make the cookies too soft and not the right texture.
It's also important to weigh the almond flour because too much will keep the cookies from spreading!
Cookie Shaping: If your cookies are spreading unevenly, you can remove them from the oven after about 7 minutes and use the end of a spatula or a large knife to gently tap the edges to be straighter. Then just pop them back in the oven to finish baking.
Nutrition Information
Amount Per Serving Calories 172Total Fat 17gCarbohydrates 8gNet Carbohydrates 3gFiber 5gProtein 3g
Leave a Reply